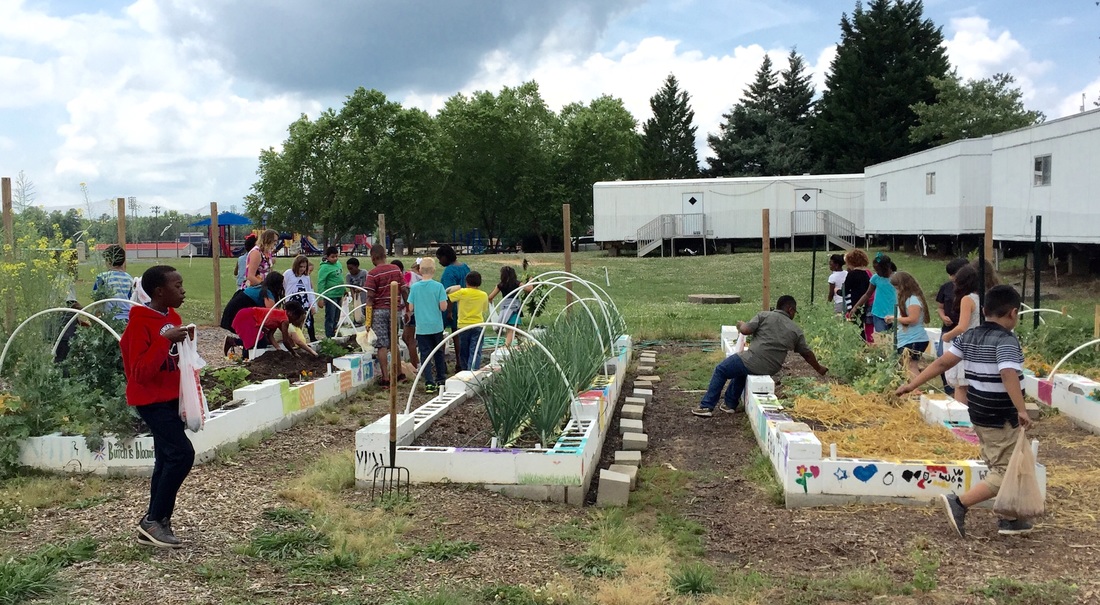
Winter/Spring 2016 Projects.
 Ms. Woody helps loosen the soil around a carrot.
Carrot harvest demonstrating the life cycle of a plant.
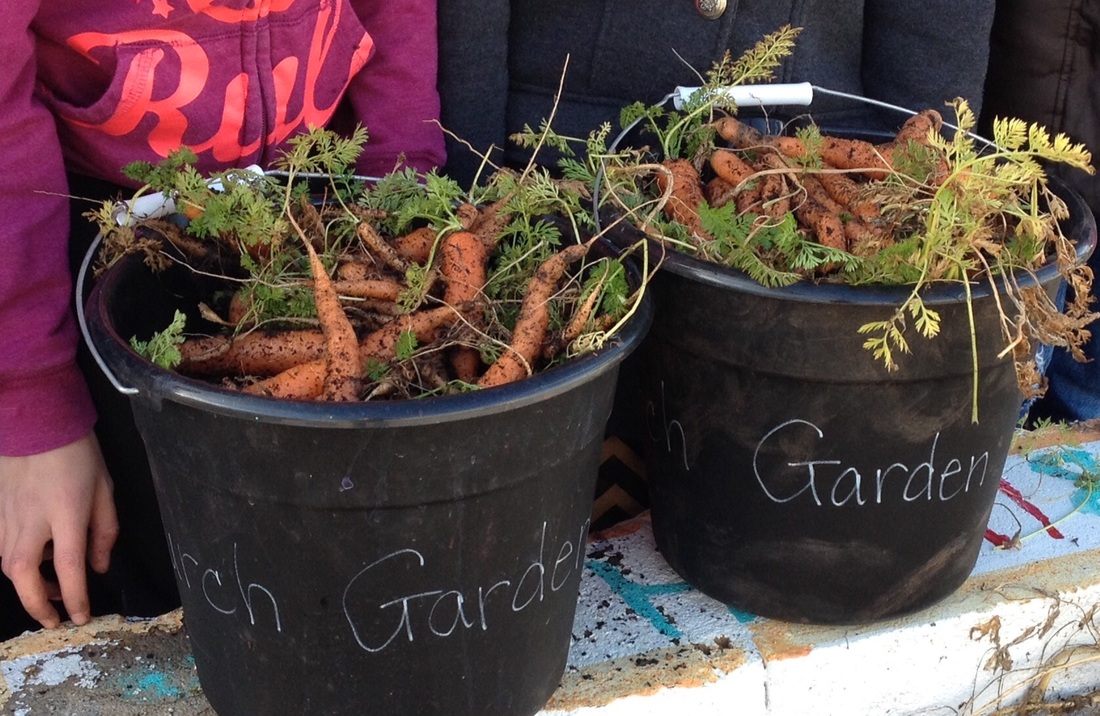
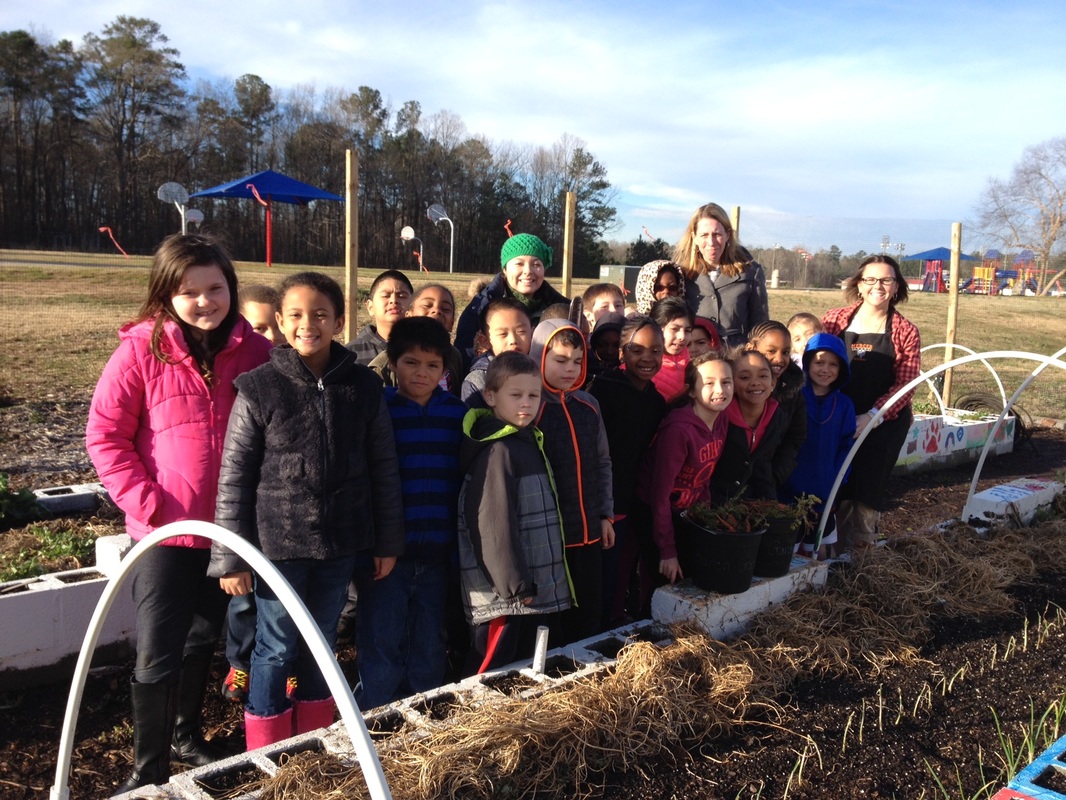
During the first week of March, Ms. Benzor's and Ms. Woody's second graders harvested the carrots they had planted as seeds during the fall. Because carrot plants don't need a lot of room, the children were able to grow them in the mini gardens along the sides of the Ladybug Bed. Even though temperatures had been well below freezing several times during the winter, the carrots were unharmed by the cold. The harvest demonstrated the completed life cycle of a plant.
The classes harvested two large buckets of carrots. Some children couldn't resist nibbling the carrots even before they were washed. Each child was able to take home 3-4 carrots to share with family. As an extra bonus, Ms. Woody made a carrot cake for her class to enjoy.

|
|
|
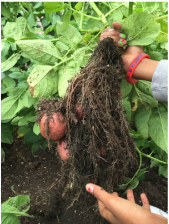
 Red potato plants
Growing potatoes with the benefit of decomposed materials.
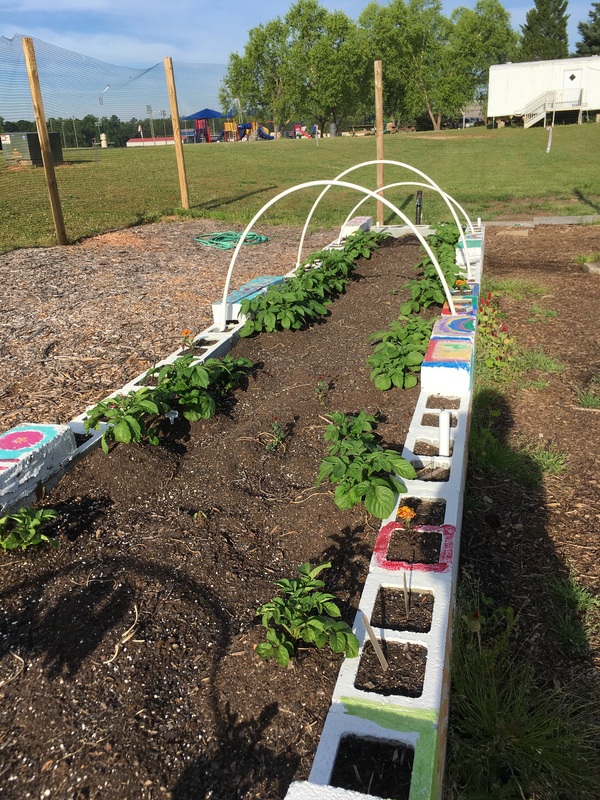
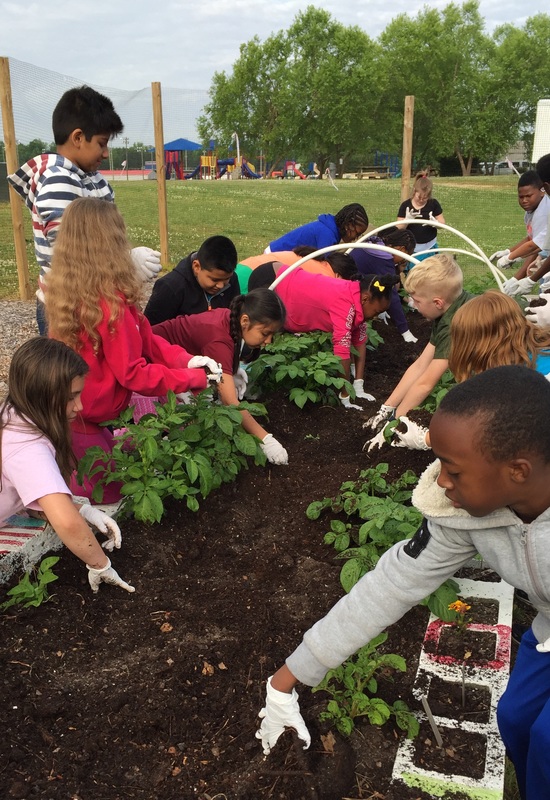
Lined up shoulder to shoulder on either side of the Butterfly Bed, in early March Ms. Spence's 4th graders took sprouted chunks of red potatoes and buried them in the soil with the sprouts pointing up. They covered each potato chunk with soil then gave each a good soaking with water.
After a month the potato plants had grown so tall they needed soil piled around their stems (called "hilling" the potatoes). To improve the quality of the soil, compost from a local herd of alpacas was added to the potato bed. The class had studied the process of decomposition earlier in the year, so the children understood not only what was in the compost but how important it was for the growing plants.
The children put on surgical gloves to mix the compost with potting soil before spreading it around each plant, carefully piling up the soil around the stem until only the topmost leaves were showing.
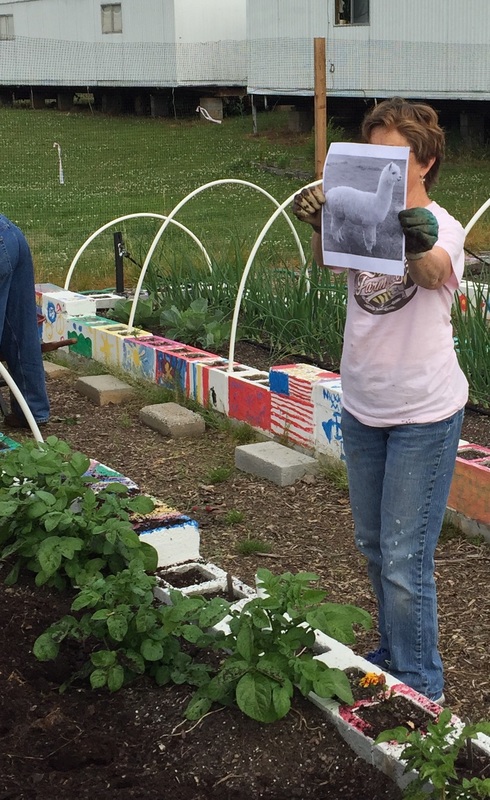
A photo of the animal contributing the compost.
|

Mixing compost and potting soil
|
Pulling soil around plant stem.
|
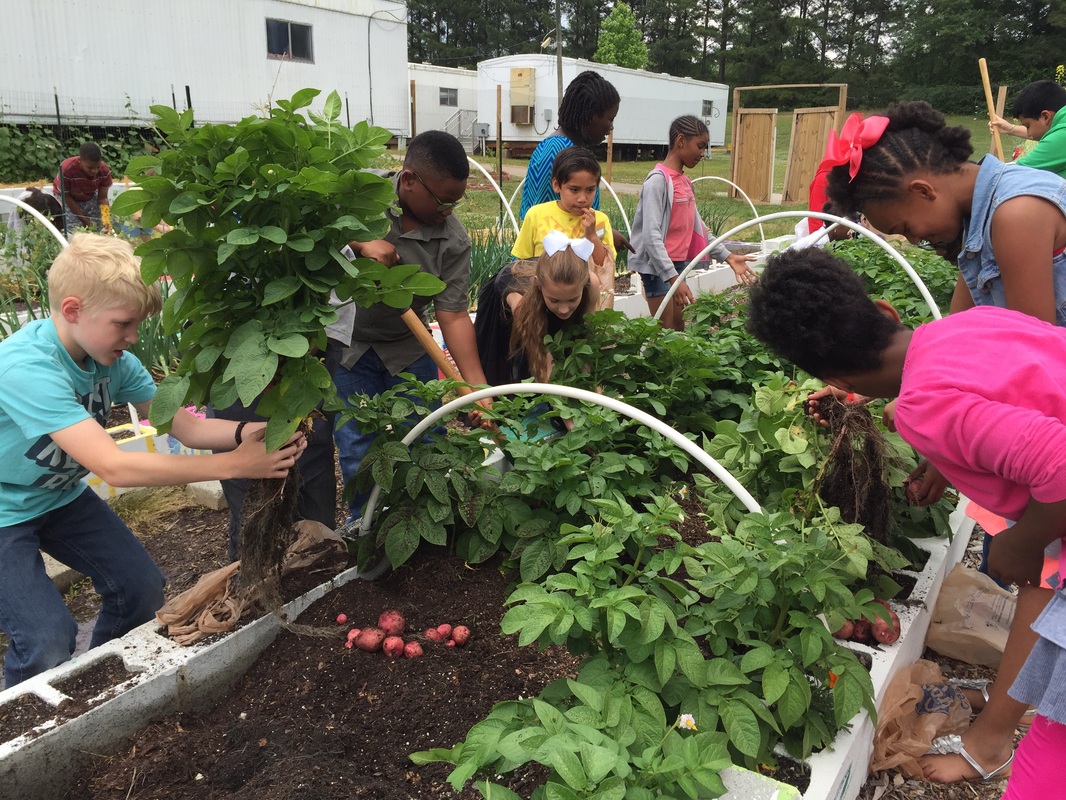
Demonstrating the value of a lever.
The last week of school in May the potato plants were still blooming and far from being ready for harvest, but Ms. Spence's class wanted to see if any potatoes were growing from the roots. Bracing the handle of a garden fork, a shovel, or a pitchfork against the side of the garden bed, the children were able to lift each plant out of the ground. Dangling from the roots were lots of good-sized potatoes. Others were lying under the soil, so the children used their hands to dig for them like buried treasure.
The last week of school in May the potato plants were still blooming and far from being ready for harvest, but Ms. Spence's class wanted to see if any potatoes were growing from the roots. Bracing the handle of a garden fork, a shovel, or a pitchfork against the side of the garden bed, the children were able to lift each plant out of the ground. Dangling from the roots were lots of good-sized potatoes. Others were lying under the soil, so the children used their hands to dig for them like buried treasure.
The edge of the bed is used as a fulcrum to lift up the heavy potato plants.
|

Each child harvested from the plant s/he had planted.
|
Every plant produced potatoes.
|
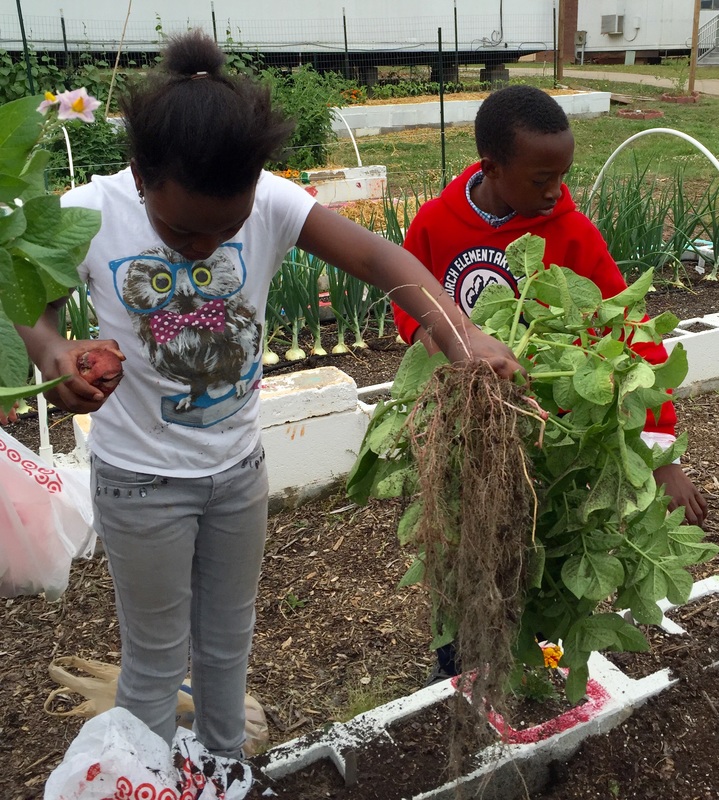
Children carefully shook all the soil from the roots before tossing the green plant into the compost pile.
|
|
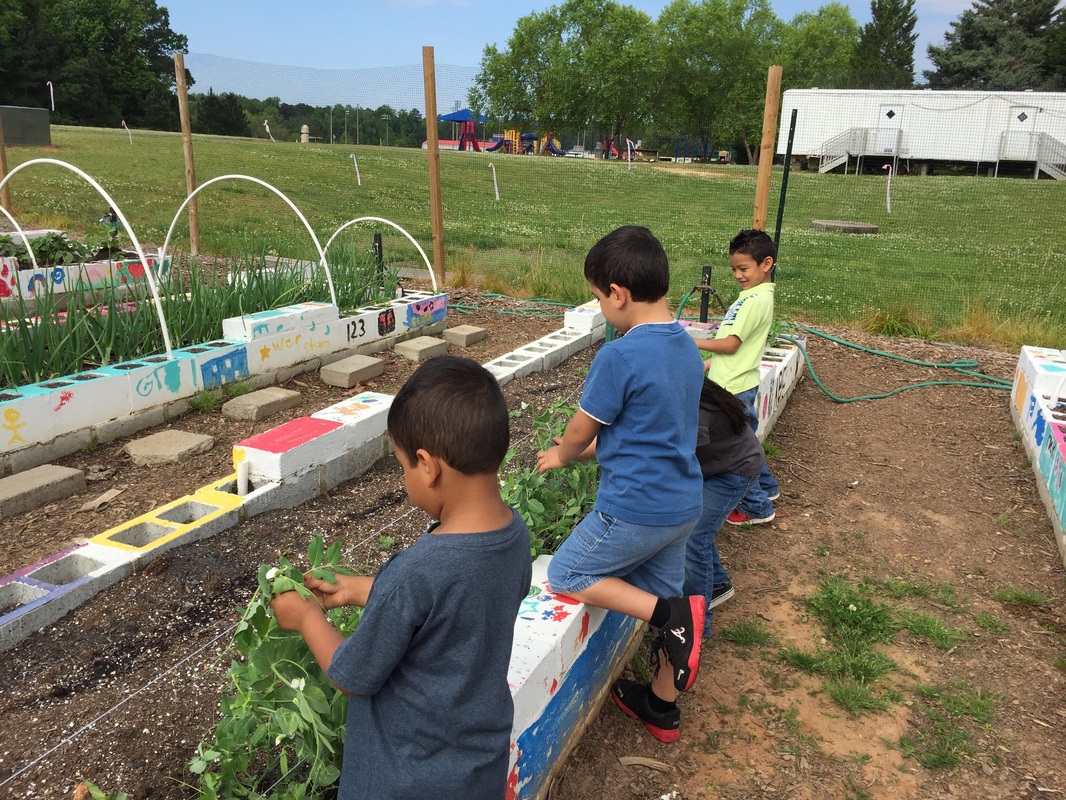
Learning math by creating a trellis.
Mrs. Osborne's ESOL class walked along the edge of the bed of English peas, counting their steps as they went. They measured the length of their feet and calculated the distance in feet that they had walked. They unrolled a length of twine about that distance and tied it to the posts on each end of the pea patch, so that the string supported the blooming pea plants. Each child ran twine from one post to the other, creating a trellis of horizontal strings so that the peas could climb.
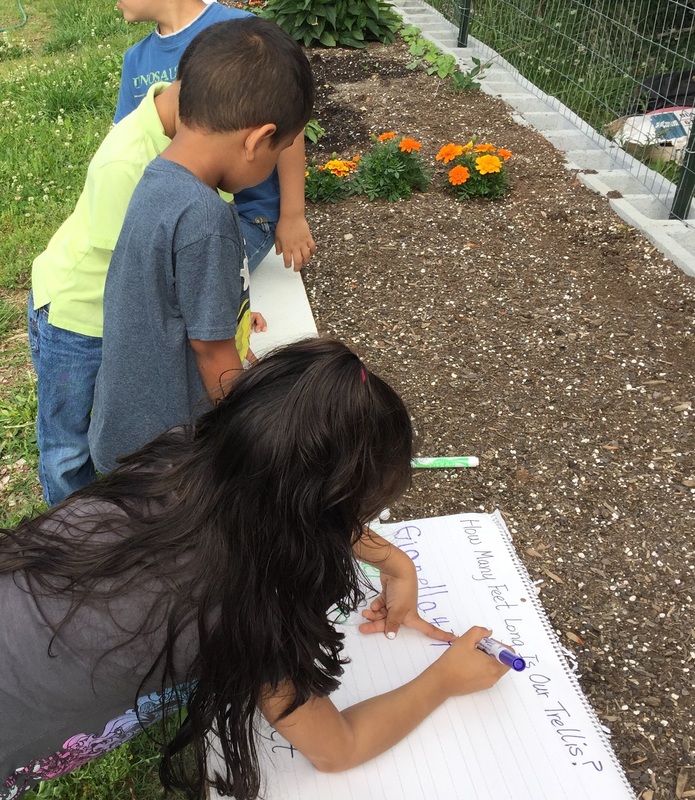
Calculating distance
|
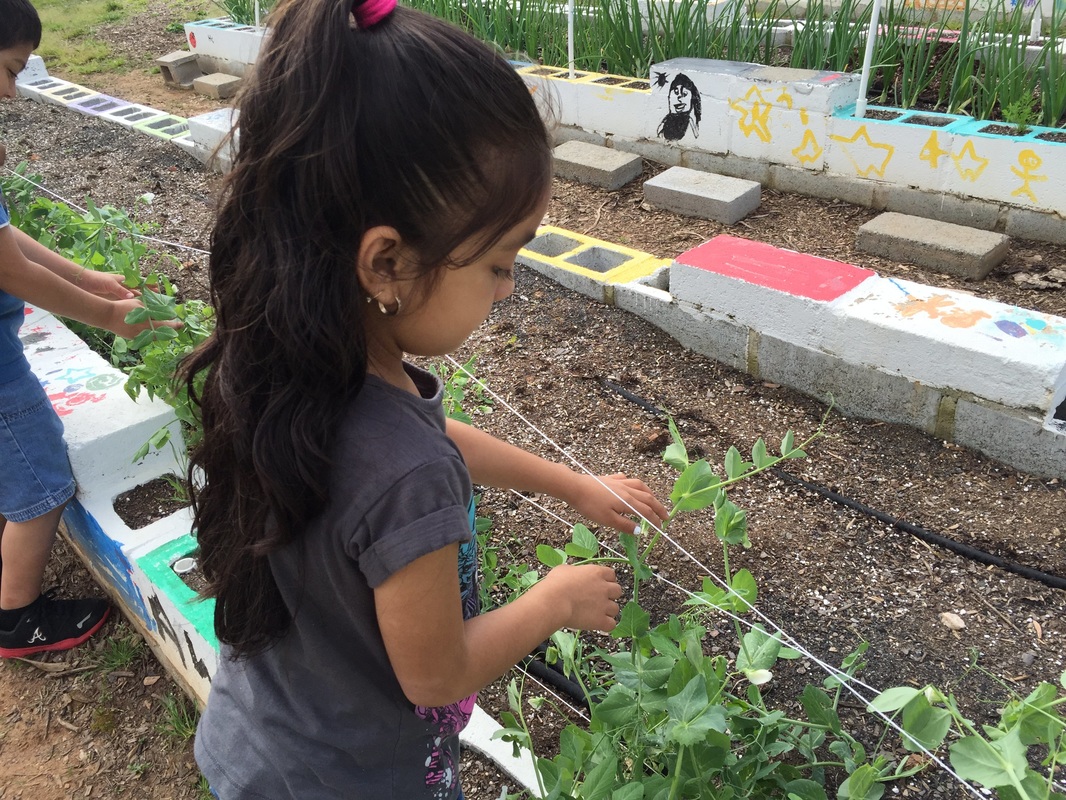
Gently pulling plant between trellis lines.
|
Team work makes quick work.
|
Learning how to pick ripe peas.
Children from Ms. Osborne's and Ms. Spence's classes learned which pea pods are ready to pick (the fat ones) and which need to remain on the vine for a few more days. They also found that using one hand to hold the vine steady while the other hand yanks on the pea pod will keep the pea plant from being pulled out of the ground. Peas are delicious eaten raw, right from the pod in the garden.
Children from Ms. Osborne's and Ms. Spence's classes learned which pea pods are ready to pick (the fat ones) and which need to remain on the vine for a few more days. They also found that using one hand to hold the vine steady while the other hand yanks on the pea pod will keep the pea plant from being pulled out of the ground. Peas are delicious eaten raw, right from the pod in the garden.
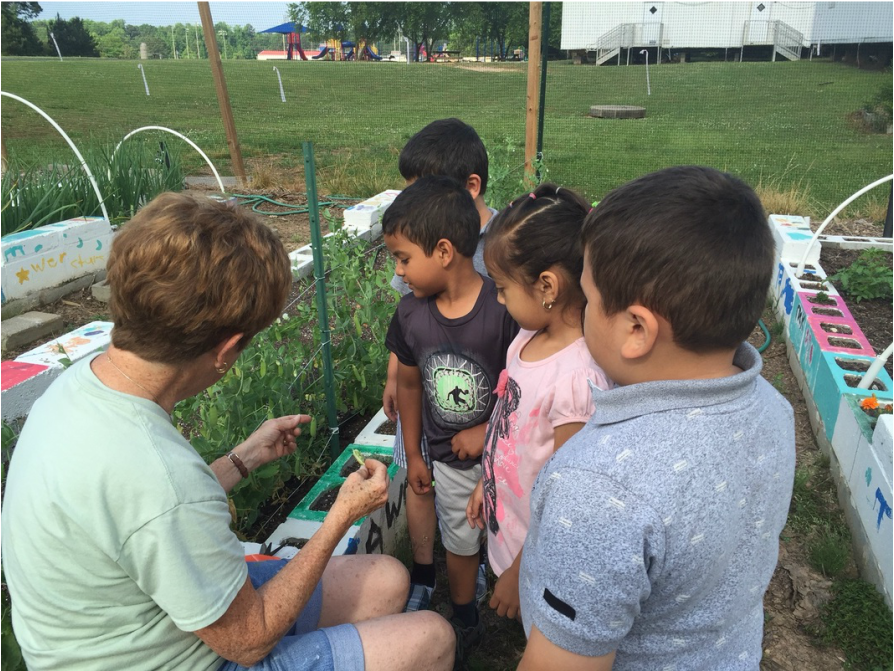
Mrs. Golden shows children how to recognize and pull ripe peas from the vine.
|
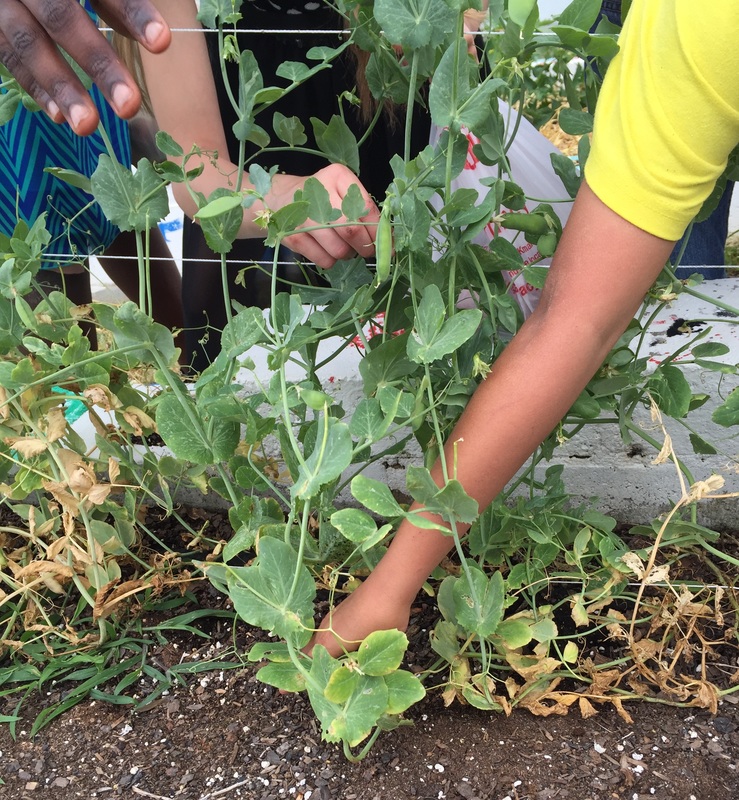
Eager hands reach for the peas.
|

Got one!
|
