|
Starting the Garden
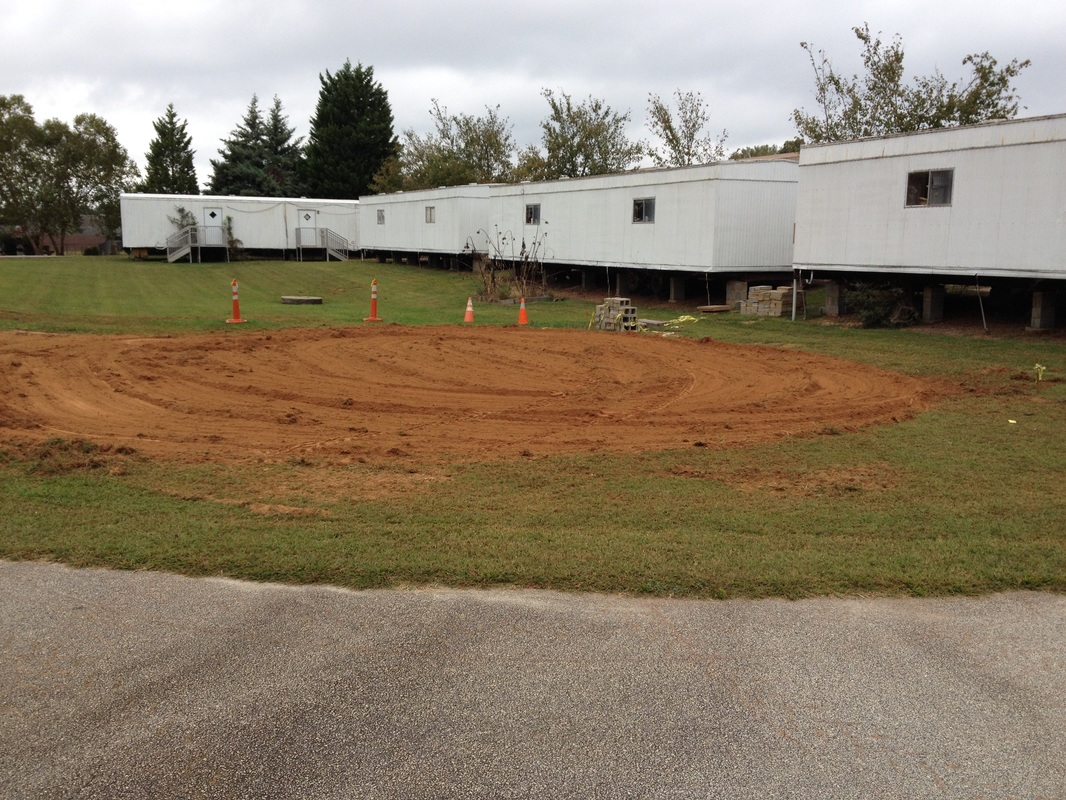
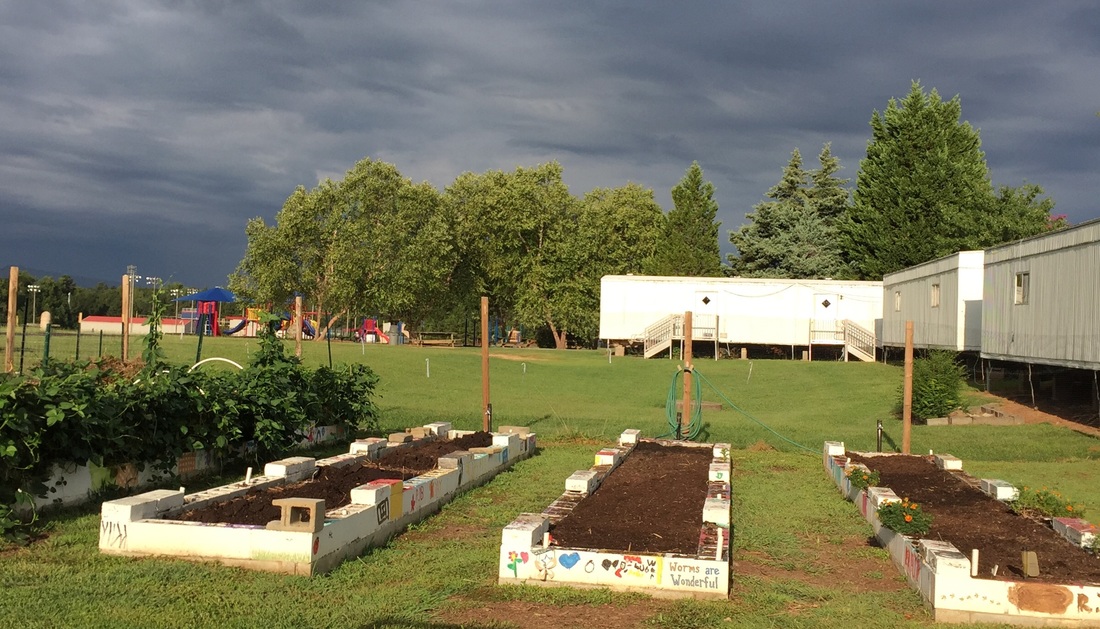
Step 1: Location. Space for the garden was identified between a row of trailers behind the main building and the school's playground area. In October 2014 a church member used his tractor to scrape the grass off an area roughly 2500 square feet. The tractor also smoothed out the uneven ground. |
|
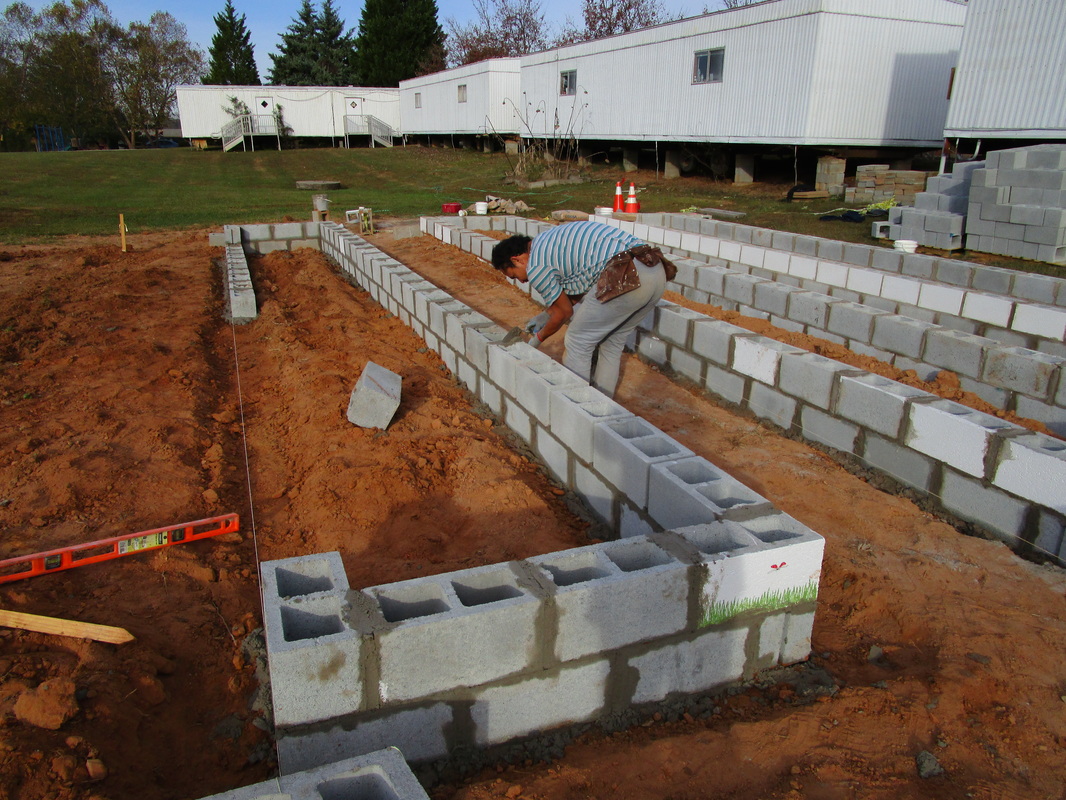
Step 2: Garden beds. Concrete block was chosen as the building material for the raised beds so the garden would be permanent and resist weathering. Because soil in this part of Georgia is heavy clay, laying two layers of block creates deep beds which can be filled with organic compost, reducing the amount of digging necessary to get the beds started and plants growing.
Block was purchased at cost from a local masonry supply company and one of the ESOL teachers contacted a mason. The mason with one helper was able to lay four 30' beds in two days. The beds were roughly 3' feet wide with 4' walkways in between. Narrow beds ensure that the children can reach all the growing plants without needing to step onto the soil. Wall caps were placed about every six feet along the length of each bed to serve as small benches and a place to lay tools and plants.
Block was purchased at cost from a local masonry supply company and one of the ESOL teachers contacted a mason. The mason with one helper was able to lay four 30' beds in two days. The beds were roughly 3' feet wide with 4' walkways in between. Narrow beds ensure that the children can reach all the growing plants without needing to step onto the soil. Wall caps were placed about every six feet along the length of each bed to serve as small benches and a place to lay tools and plants.
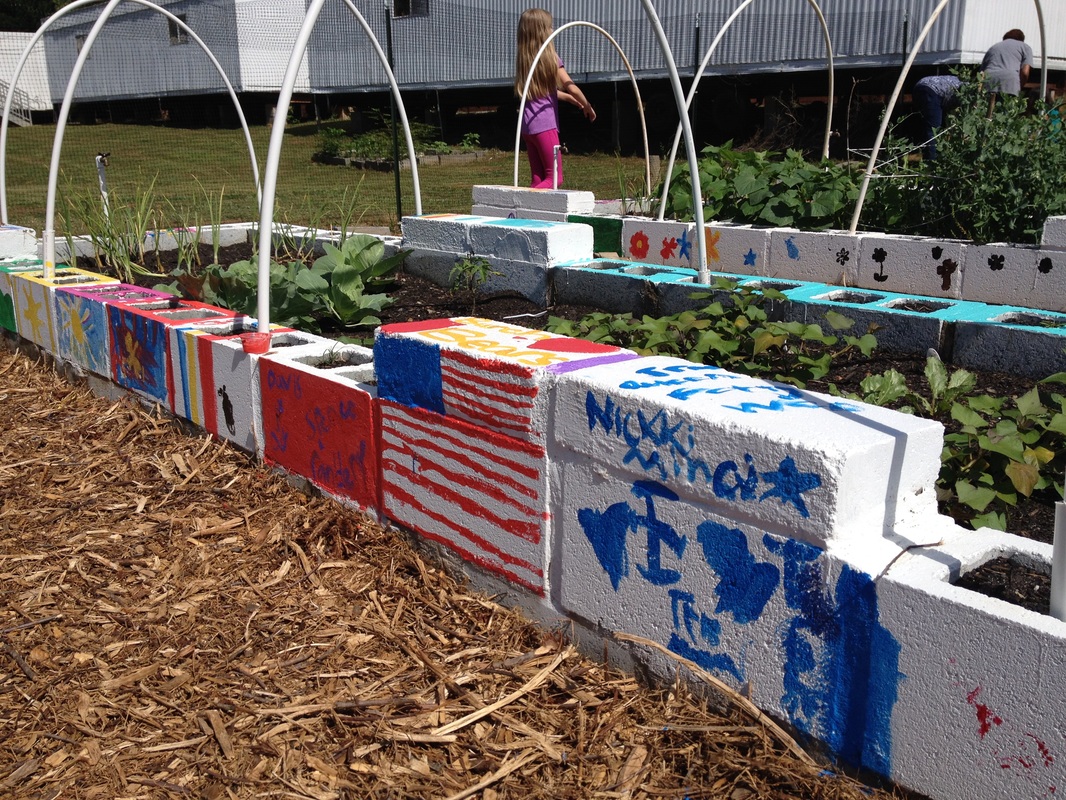
Step 3: Improving surfaces. Raised beds were painted with two coats of white latex primer. Adding primer sealed the blocks, made a less abrasive surface, and provided a background for the decorative designs that classes added to the beds in the spring. Concrete blocks are covered faster with rollers than with brushes.
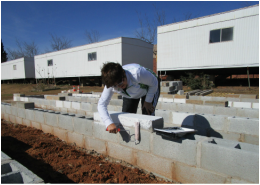
ESOL teachers and volunteers from the church community first cleaned dirty rain splatter from the blocks with brooms then scraped off excess mortar with heavy-duty steel brushes. The cleaned beds were painted on weekends when the weather was dry and relatively warm.
ESOL teachers and volunteers from the church community first cleaned dirty rain splatter from the blocks with brooms then scraped off excess mortar with heavy-duty steel brushes. The cleaned beds were painted on weekends when the weather was dry and relatively warm.
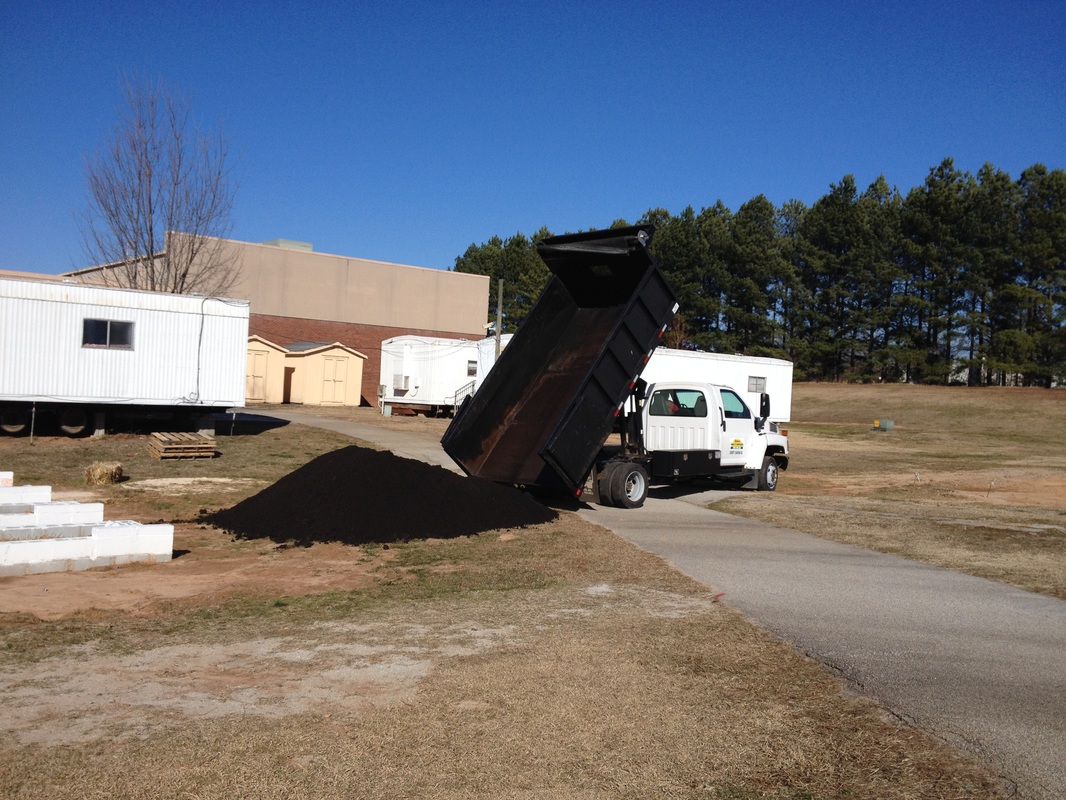
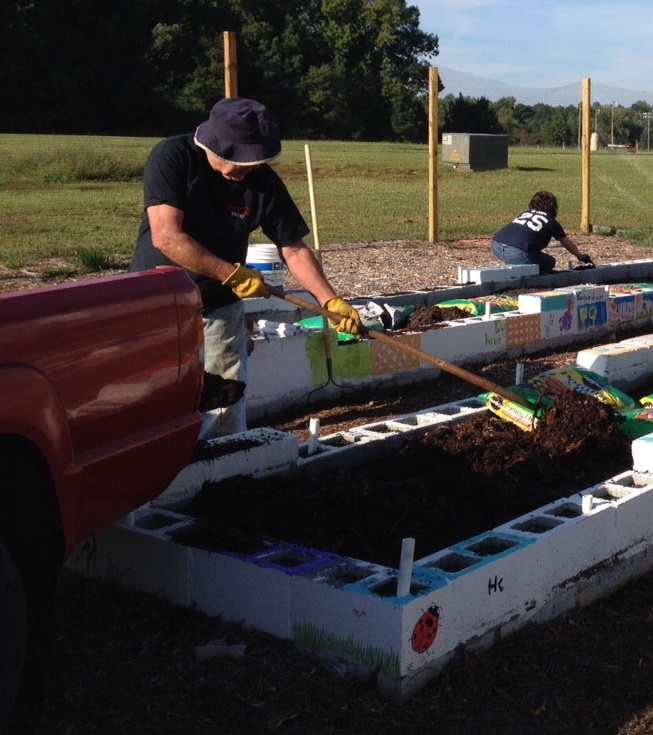
Step 4: Big and small growing beds. With priming completed, a truck load of organic compost from a local landscaping company was dumped at the edge of the garden site. A church member with a front loader moved the compost into the ends of each bed. Compost was shoveled by hand from the ends to the middle of the beds.
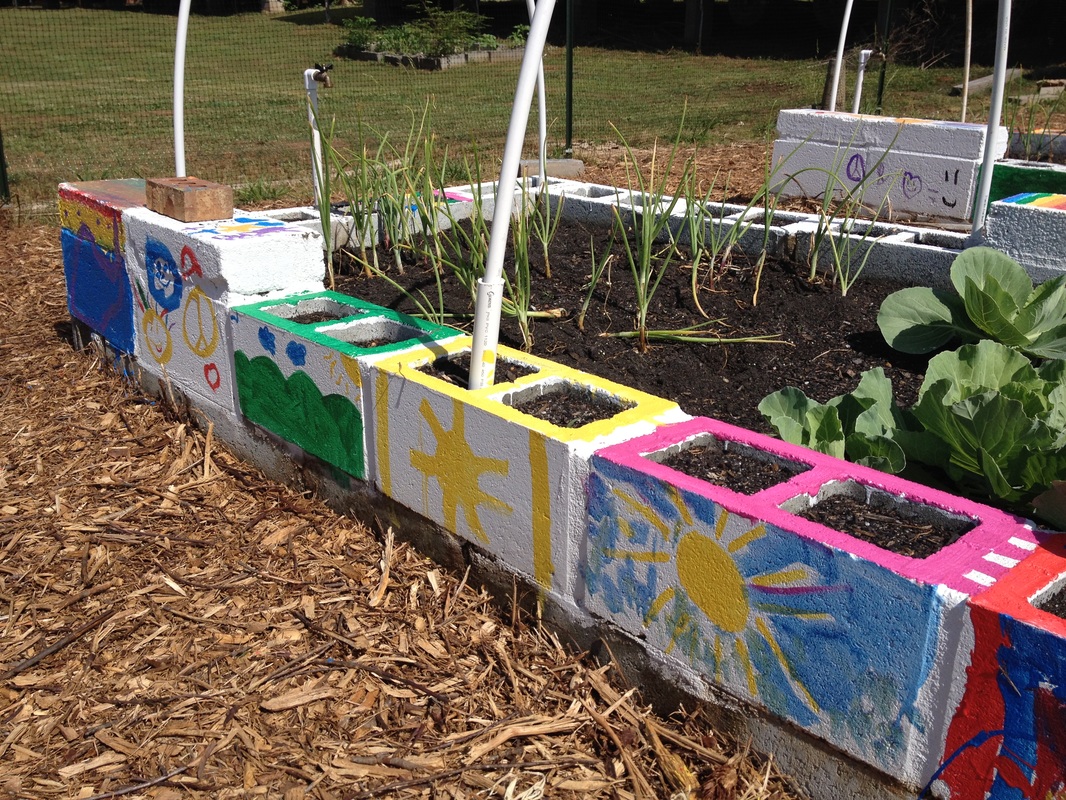
Holes in the garden blocks, each roughly 5" square, were viewed as mini-gardens. The lower half of each hole was filled with small rocks to insure good drainage then the top 8" filled with the same compost as the main beds. Each mini-garden is large enough to accommodate several radishes or carrots, smaller vegetables such as lettuce and spinach, flowers, and annual herbs.
Holes in the garden blocks, each roughly 5" square, were viewed as mini-gardens. The lower half of each hole was filled with small rocks to insure good drainage then the top 8" filled with the same compost as the main beds. Each mini-garden is large enough to accommodate several radishes or carrots, smaller vegetables such as lettuce and spinach, flowers, and annual herbs.

|
In the 2015-2016 school year one of the four main beds is set aside for ESOL students, since Burch's ESOL teachers were responsible for the garden being created. ESOL students particularly benefit from educational garden activities since language skills are practiced alongside gross motor skills. When in the fall of 2016 the ESOL program moved away from a pull-out format, the ESOL bed was set aside for growing strawberries.
This year each grade level at Burch is assigned half of one of the other 30' beds, plus the thirty-seven mini-garden holes (minis) around that half. Teachers on a given grade level decide what their half-bed is used for--including which children will be involved, what is planted, how the soil is kept fertile, how insects are handled, and how weeding and harvesting will be conducted. Burch Elementary School currently has four or five classes at each grade level sharing 45 square feet of garden space, so coordination is essential. French intensive gardening methods maximize the productivity of the limited space. |
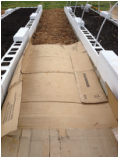
Step 5: Walkways. After the beds were filled with soil, the walkways were addressed. To keep children from getting muddy after rainy days and to prevent weeds from growing up between the beds, heavy cardboard boxes donated by a local appliance store were laid between the beds so that no bare soil was showing. Chipped tree mulch donated by local landscaping companies was spread over the cardboard to add cushioning and to keep the cardboard from shifting.
When it became clear that using mulch caused rain to pond between the beds, the walkways were allowed to return to grass. Grass paths are also much easier for children with motor disabilities to navigate. |
|
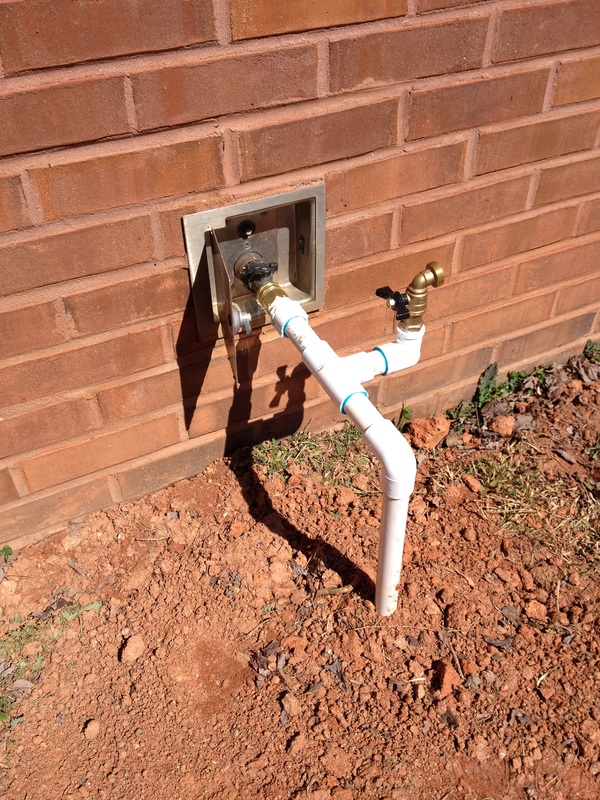
Step 6: Irrigation. Providing water to the garden was essential for success, given Georgia's heat and unpredictable rain, but the closest water source to the garden was almost 100 feet away, on the outside of the building. Lowes' grant funds paid for a professionally installed irrigation system, running underground from the water spigot on the rear of the school building to the garden area. Five spigots provide water to each vegetable bed and to the adjacent trellis garden built during the summer of 2015.
To keep plants watered when school is not in session, 50' soaker hoses are attached to each bed's spigot. Soaker hoses run the length of the bed under a layer of mulch. Soaker hoses reduce the amount of water used in the garden and they reduce the likelihood of fungal diseases since they provide moisture directly to the roots and not the leaves. |

|
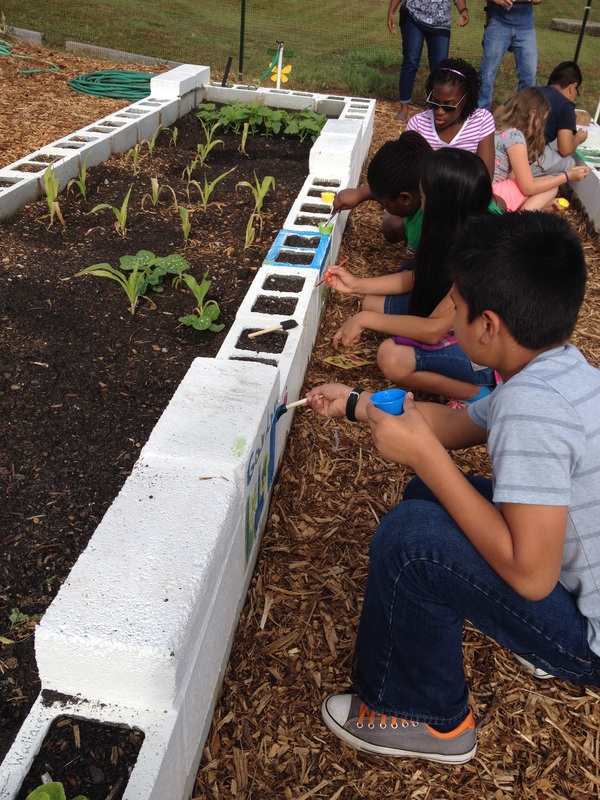 Fourth graders at work.
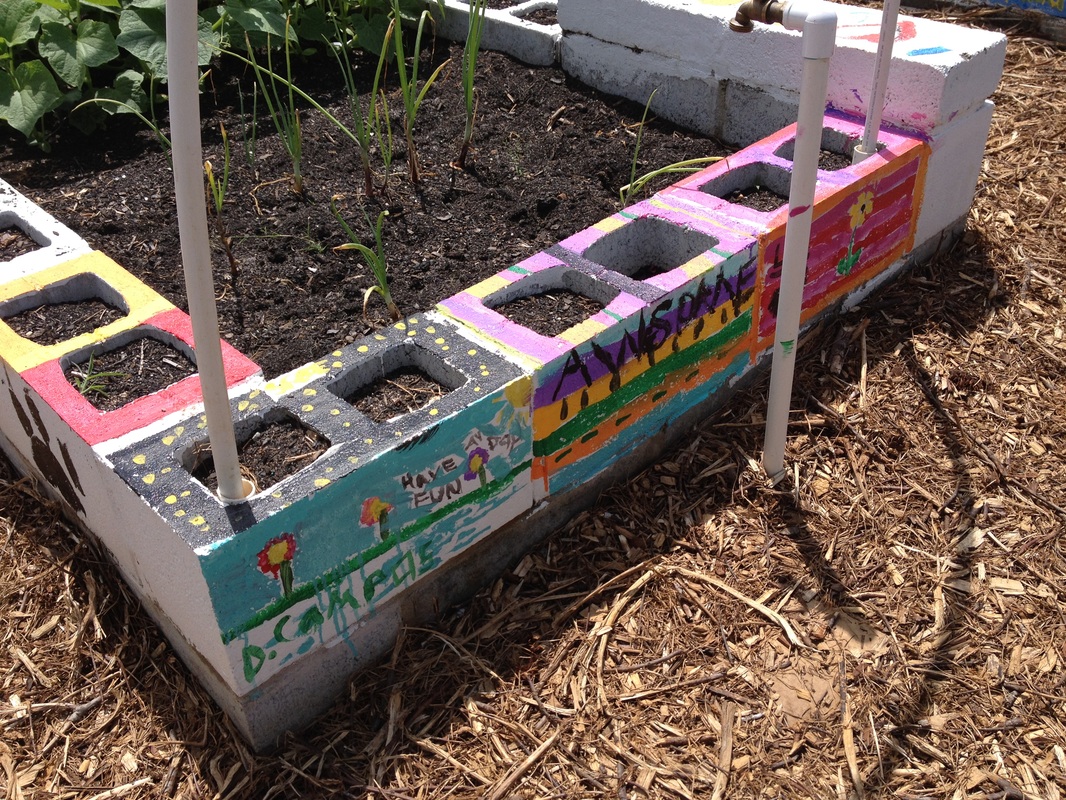
Step 7: Garden art. Gardens teach children about beauty as well as expand their understanding of the natural world. Colorful flowers and the different textures and shapes of plants are part of any garden's appeal. To further enhance the artistic dimension of the garden, children from several classrooms painted the primed concrete blocks, using their own inspiration to personalize the garden.
Weather- and fade-resistant outdoor acrylic paint comes in a variety of vivid colors and can be mixed together to create even more hues. Each child was given a small (2 oz) condiment cup filled with the color of their choice. To get a second color, each child had to return the first paint cup (and its plastic cap), minimizing mess in the mulch and missing paint pots. Paint was applied with regular and foam brushes. Drying time was less than an hour.
Paints can be used by each classroom to personalize their mini-garden spaces or to demonstrate in mural form a natural process such as the growth from seed to plant to flower to fruit.
|
|
|
|
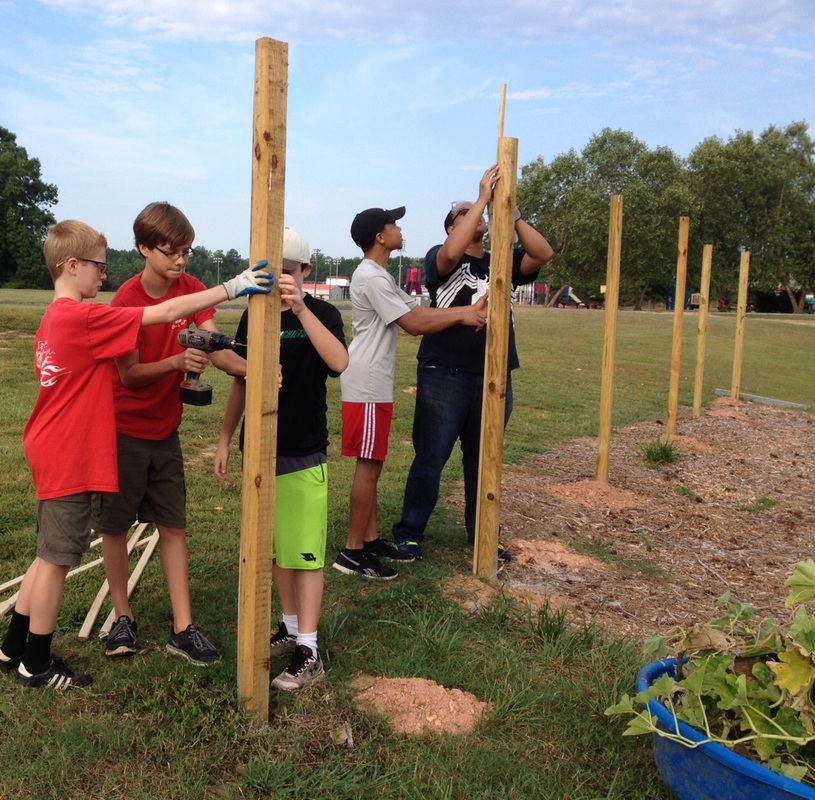
Step 8: Fencing. White-tailed deer from woods behind the school ate from the vegetables planted in Burch's garden, so a fence needed to be installed to keep them out. The first fence was created from metal T-posts. Although sources reported that plastic mesh deer fencing 8' high would be sufficient to prevent deer from jumping into the garden, the largest T-posts available in the Atlanta area were only 8' long, and with the bottom of each post driven into the ground, the top of the fence was less than 7' high.
To correct the problem, a teenager from Hopewell's Boy Scout troop offered to install a better deer fence with 10' high wooden posts as his Eagle Scout project. The Scout raised money to buy posts, mortar mix and a garden gate. Then over a two-week period he and other members of his troop dug up the T-posts, set wood posts in concrete, anchored the mesh fence to the posts, and installed a garden gate. The gate was 8' wide to allow small trucks to back close to the beds to unload soil, mulch, and other garden materials. |
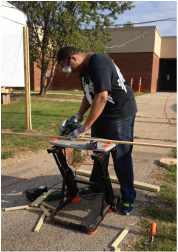
Scout cutting lumber.
|
Attaching mesh fence to posts.
|
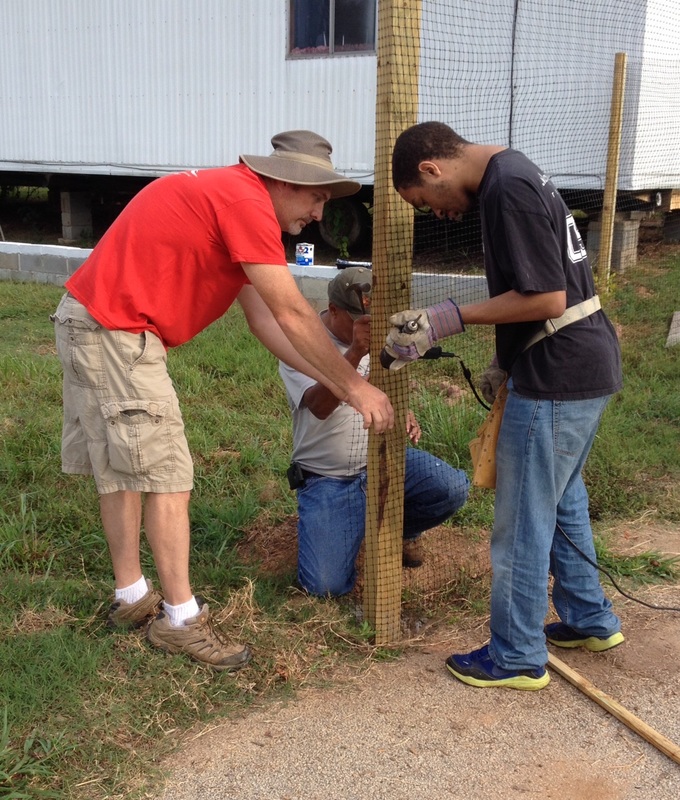
Drilling posts for gate hardware.
|
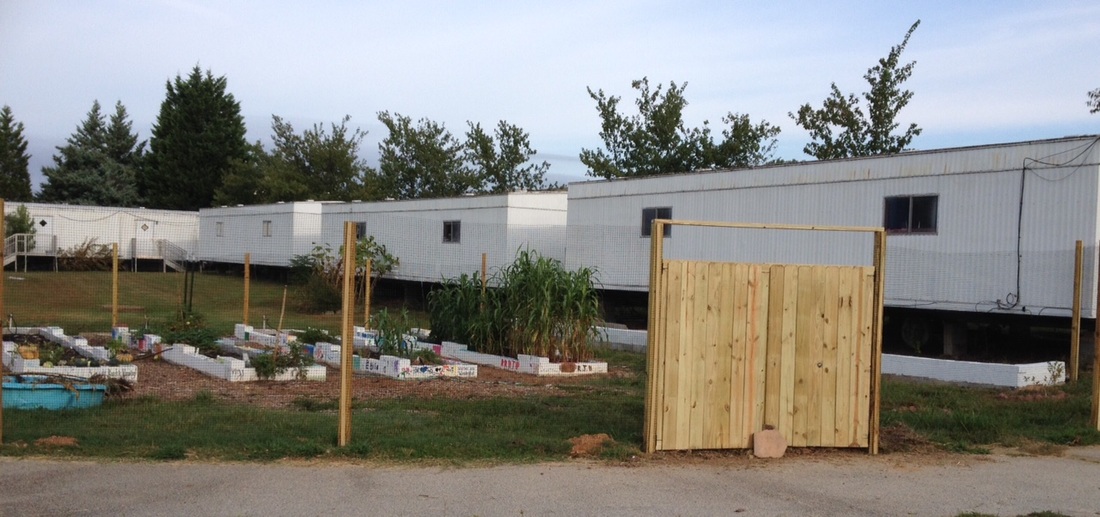
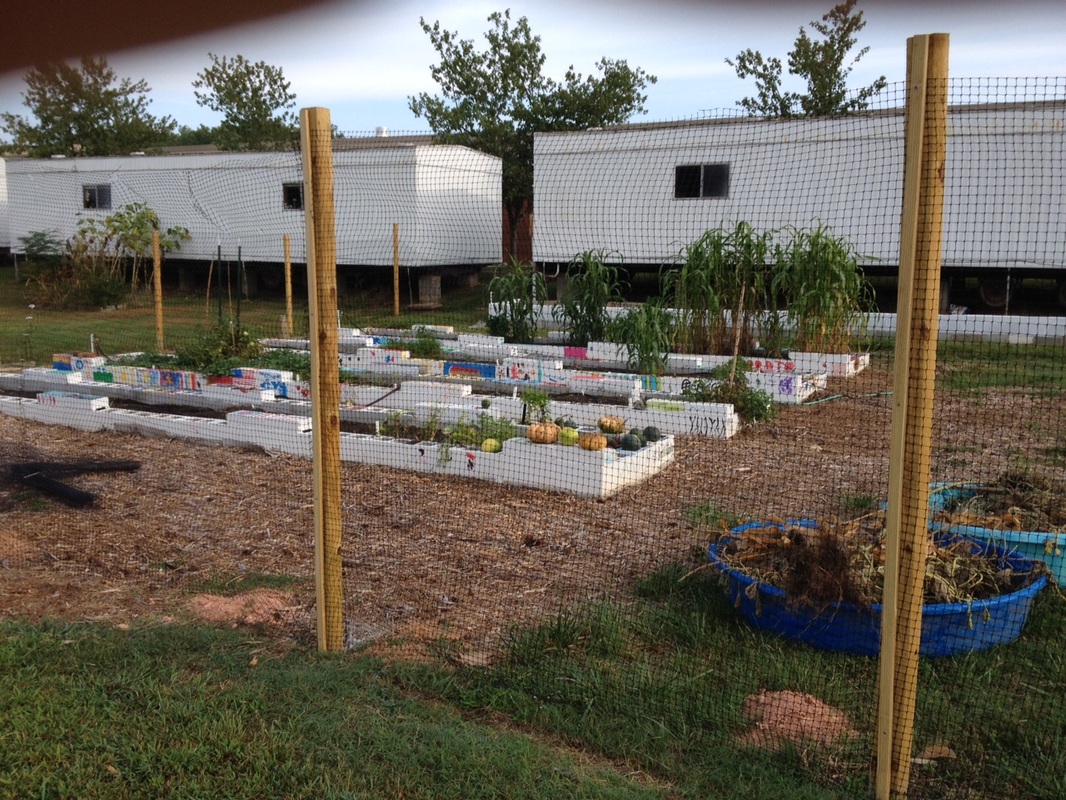
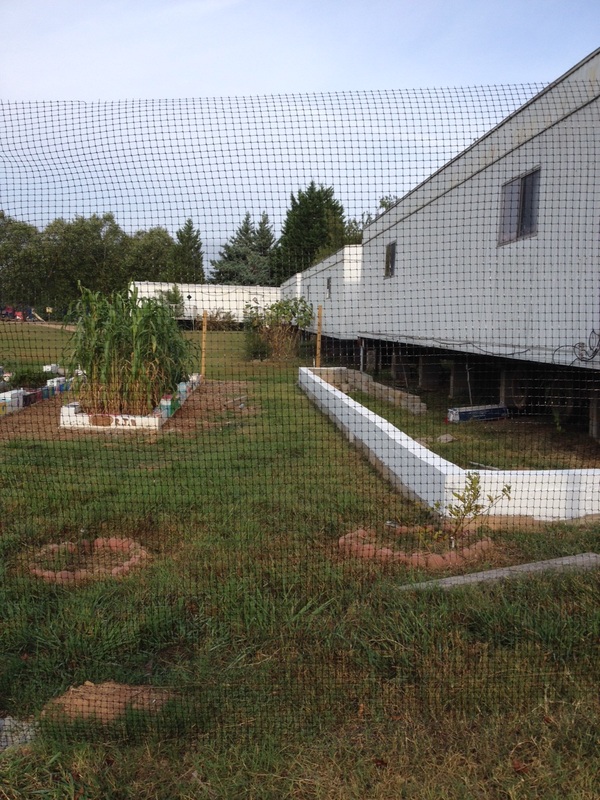
Summer's end garden behind deer fence.
|
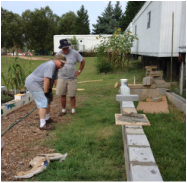
Mason checking wall.
|
Step 9: Sitting wall & trellis bed. A low 47' wall was added to the garden to give children a place to sit while getting instruction. The wall also serves as the front of a trellis bed dedicated to perennial flowers and herbs and climbing plants such as clematis and scarlet runner beans. Early-bearing blueberry bushes are located at the east end of the trellis bed.
Children in the Pre-K and AfterSchool Program (ASP) have responsibilities in the trellis bed which offers sensory experiences (e.g., fragrances, leaf textures) as well as cognitive growth opportunities. |
|
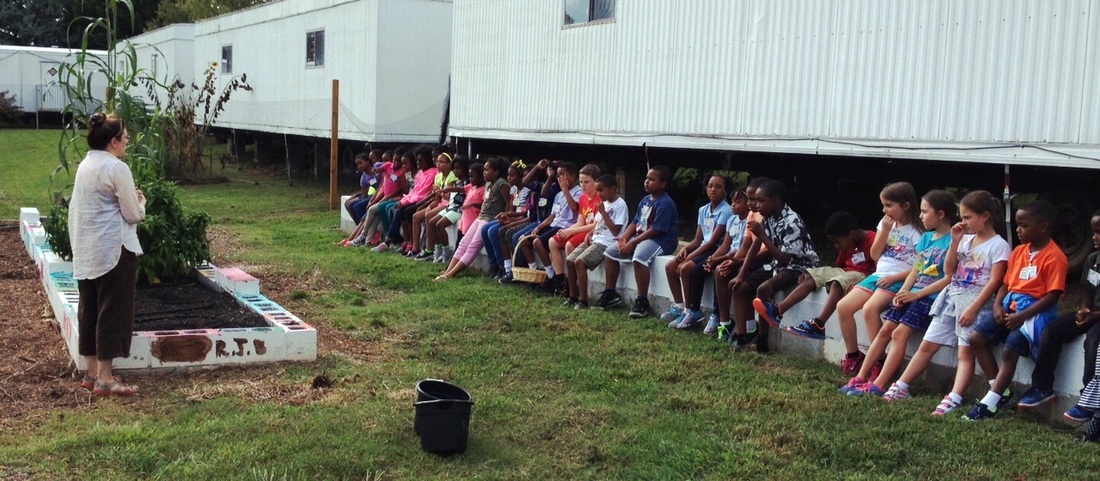
Miss Laura instructing ASP children.
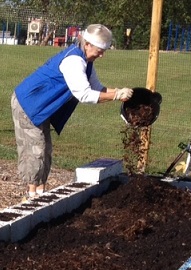
Step 10. Supplemental soil. In the fall of 2015, a Fayette County Master Gardener, Flo Winship, arranged for a flatbed trailer of potting soil, topsoil, and humus compost with manure to be delivered for the garden at Burch and the community garden across the street at Hopewell Methodist. This soil supplemented what had settled in the beds and provided perfect growing medium for plants in the minis. Additional Master Gardeners, church members from Hopewell, and parent volunteers moved the soil into the beds so that children could do their fall planting.
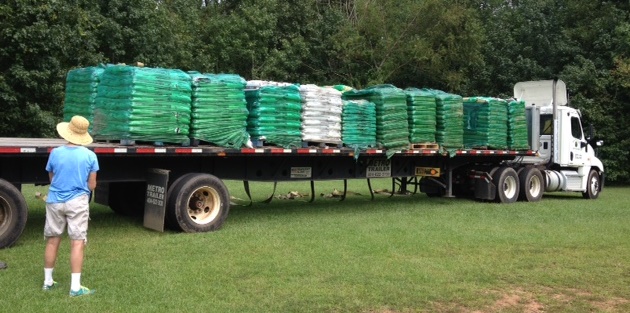
Fayette County Master Gardener overseeing delivery of soil.
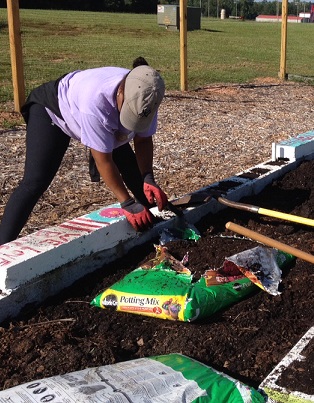
Step 11. Prepping the garden for fall planting. Two church members from Hopewell moved an entire pallet of potting soil from the community garden area to the garden at Burch. A member of the Tyrone community brought a truckload of composted alpaca manure and, with the assistance of four Fayette County Master Gardeners and a parent volunteer, added the soil amendments to the beds.
|
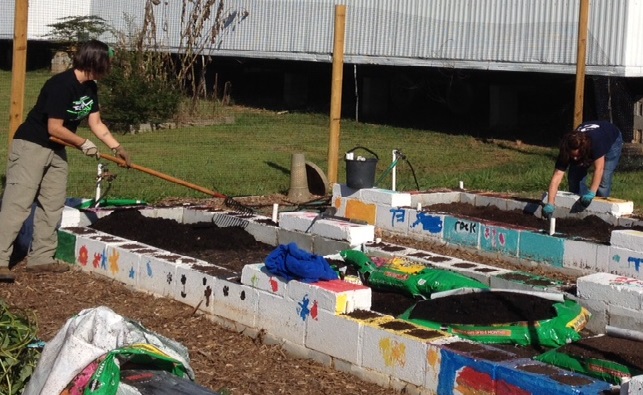
Fayette Master Gardeners prepping beds.
|